Melkbosstrand: How to Prepare Exterior Walls for Painting (Step-by-Step)
Preparing exterior walls properly is one of the most important parts of any successful painting project. In Melkbosstrand, where homes are exposed to coastal air, strong sun, winter rain, wind-blown sand and moisture, preparation matters even more. A fresh coat of paint may look good for a short time if it is applied over dirty, chalky or damaged walls, but it usually does not last. If the surface underneath is unstable, damp or contaminated, the new paint can start peeling, bubbling, cracking or fading far sooner than expected.
For homeowners in Melkbosstrand, good wall preparation is not just about getting a neat finish. It is about protecting the home from the coastal environment, improving paint adhesion and making sure the money spent on painting actually lasts. Exterior painting should always start with the condition of the wall itself. Before colour choices and final coats come into the picture, the wall needs to be inspected, cleaned, repaired, sealed and primed correctly.
This step-by-step guide explains how to prepare exterior walls for painting in Melkbosstrand, why each stage matters and what homeowners should know before the first coat goes on.
Why Exterior Wall Preparation Matters in Melkbosstrand
Melkbosstrand’s coastal conditions are hard on exterior surfaces. Salt in the air can settle on walls and slowly weaken coatings. Wind can carry dust and sand that roughen the paint film. Winter rain can expose cracks, weak plaster, poor sealing and water ingress. Strong sun can cause fading, chalking and thermal movement in walls. Even when a wall looks mostly sound from a distance, there may be loose paint, salt contamination, hairline cracks or damp-related issues underneath.
If new paint is applied without proper preparation, it has to bond to whatever is already on the wall. If that old surface is dusty, chalky, loose, mouldy or damp, the new paint may not adhere properly. That is why preparation is not an optional extra or a small preliminary step. It is the foundation of the whole job. In many cases, the long-term success of an exterior paint project depends more on preparation than on the final topcoat.
Step 1: Inspect the Exterior Walls Properly
The first step in preparing exterior walls for painting is to inspect them carefully. This should be done before any scraping, washing or patching begins. The aim is to understand the real condition of the wall and identify any issues that could affect the new paint system.
Walk around the property and look closely at all painted and plastered surfaces, including boundary walls, parapets, gables, fascias, columns and exterior feature walls. Check walls in full daylight if possible, because defects are easier to see in natural light.
Look for common problems such as:
- peeling, flaking or blistering paint
- chalky residue on the surface
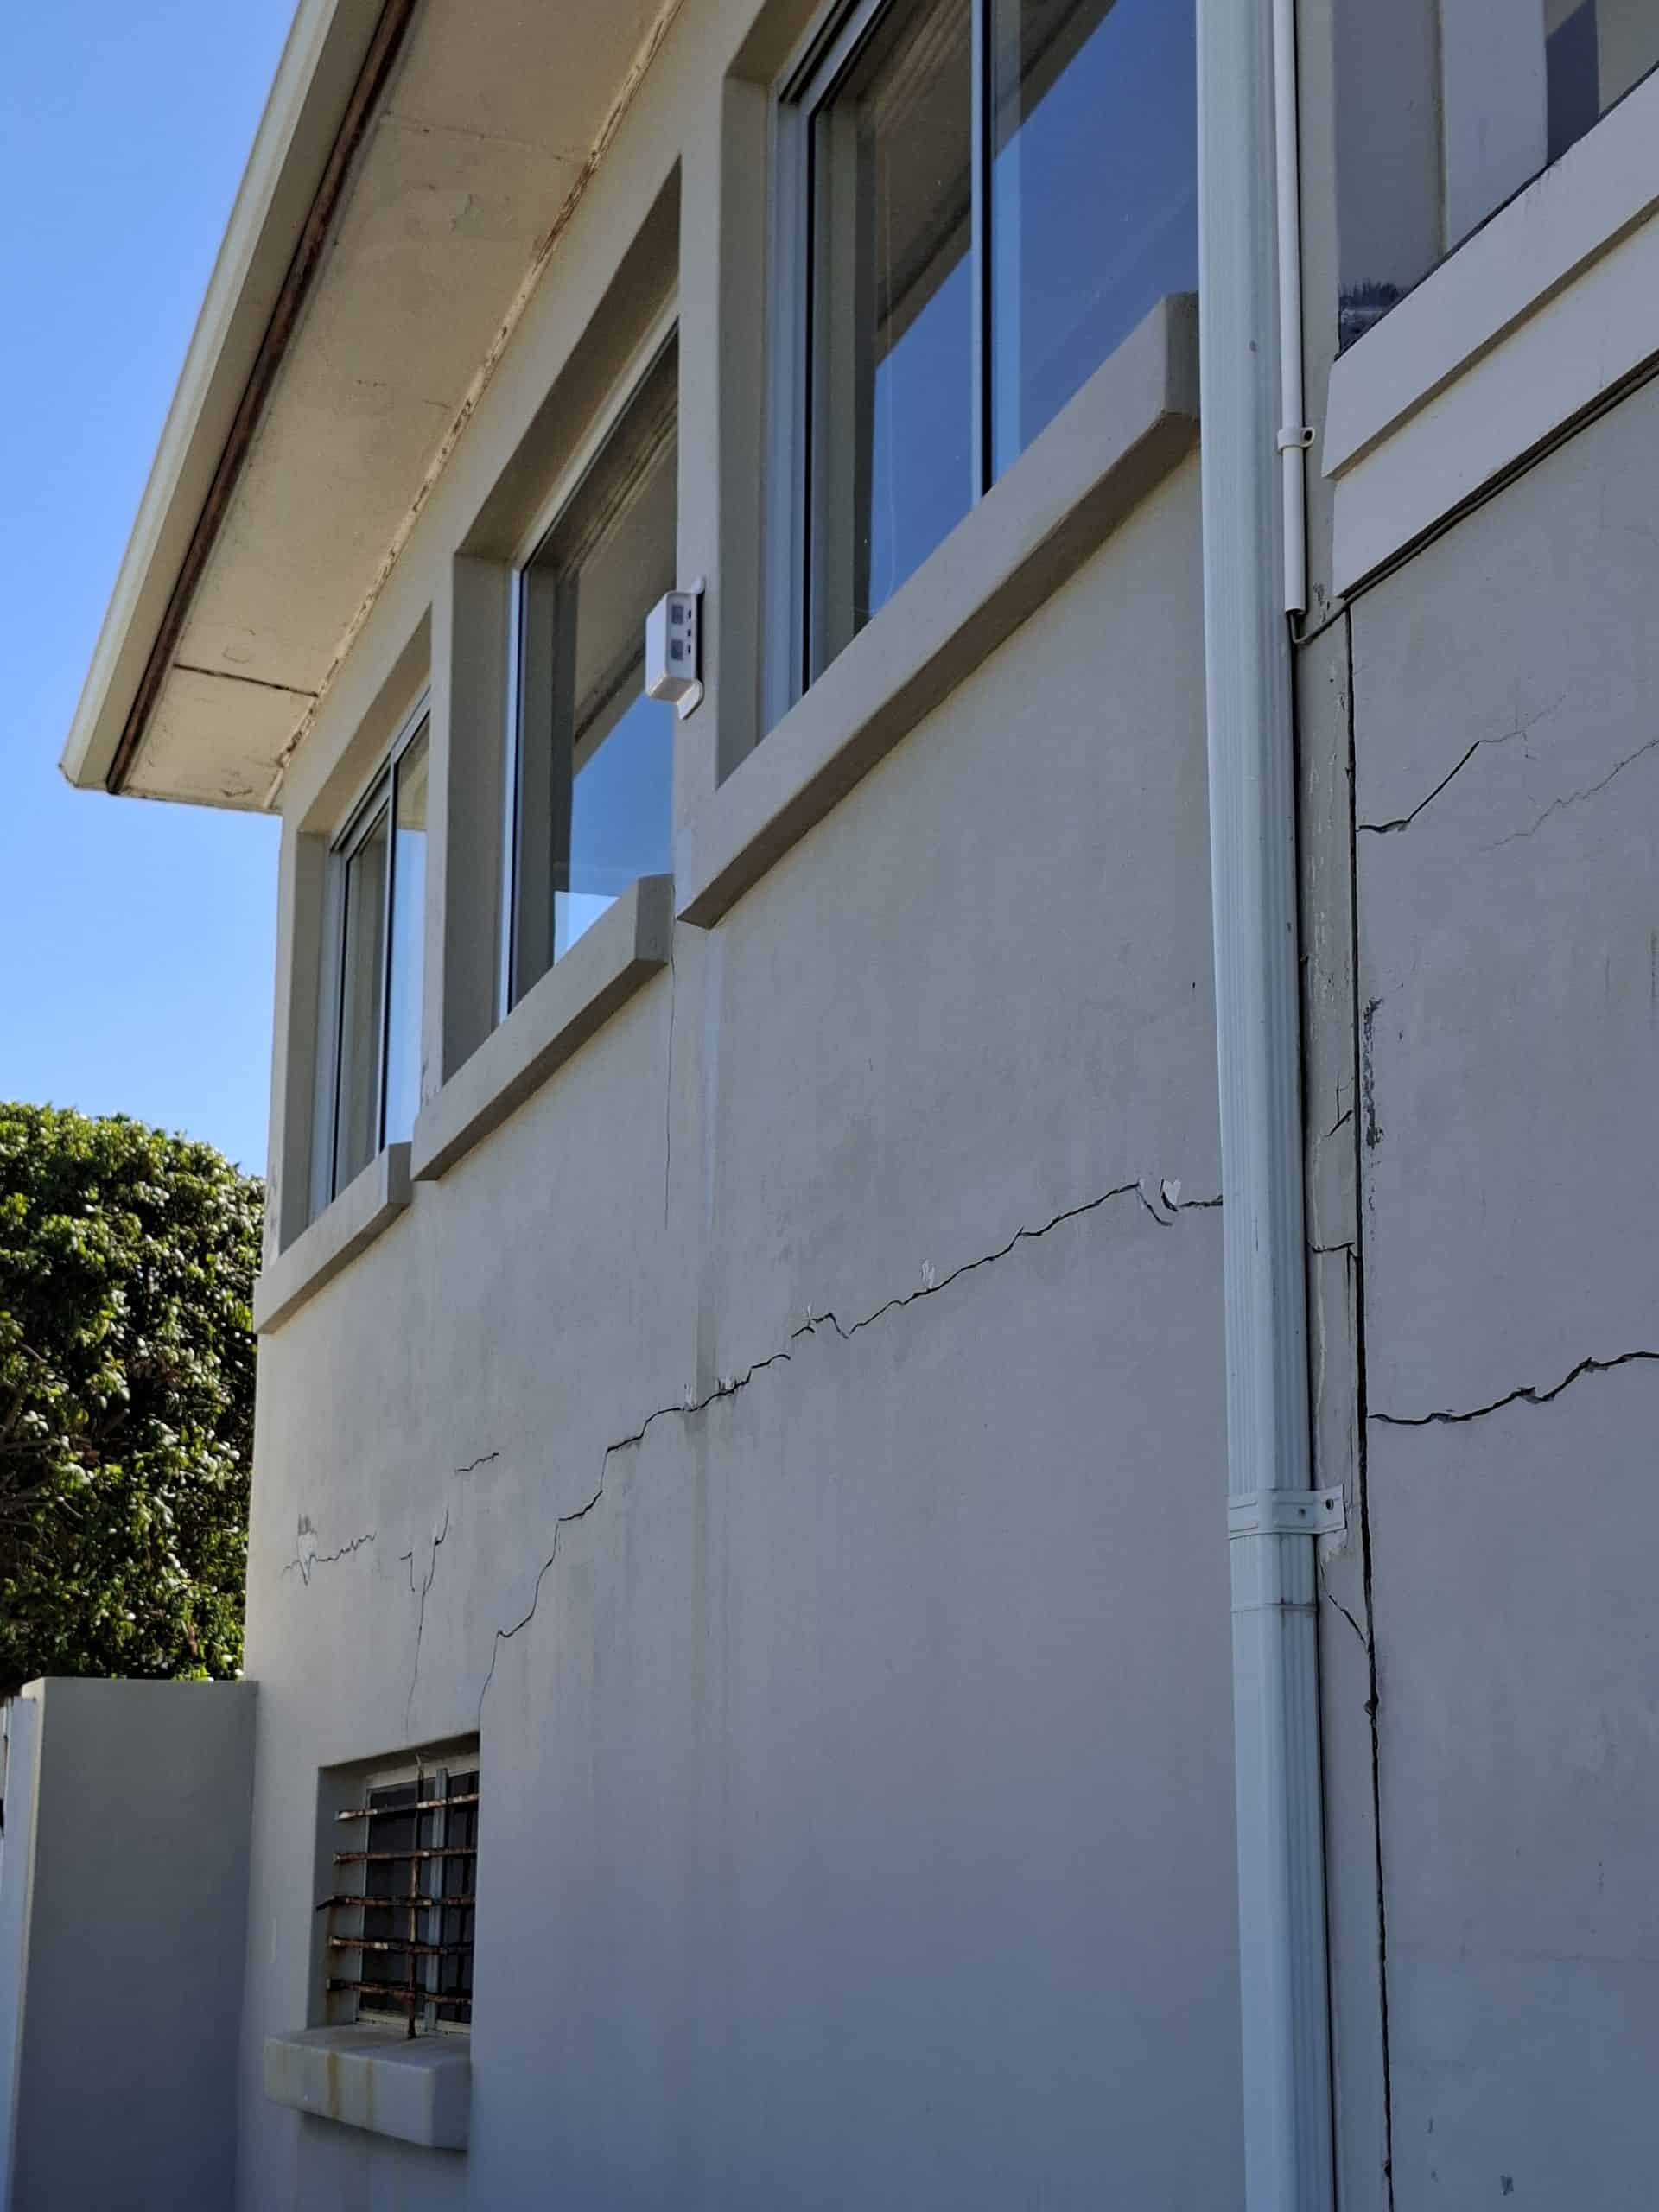
- hairline or wider plaster cracks
- damp marks or bubbling near the base of walls
- mould, mildew or algae growth
- soft or hollow-sounding plaster
- staining below windows, rooflines or parapets
- patchy repairs from previous paint jobs
- salty or powdery deposits on the surface
In Melkbosstrand, it is especially important to inspect walls facing prevailing weather and sea air. South- and west-facing walls, exposed boundary walls and areas near parapets or coping details often show earlier signs of moisture damage and paint failure.
Step 2: Fix Moisture Problems Before Painting
If there is one rule homeowners should remember, it is this: do not paint over an active moisture problem. Paint is not a solution for water ingress, rising damp, leaking gutters or cracked parapets. It may cover the marks briefly, but the problem usually returns and the new paint often fails again.
Before wall preparation continues, identify and repair any moisture sources. These may include:
- leaking gutters or downpipes
- roof leaks or failed flashings
- cracked plaster allowing rainwater in
- unsealed parapets or wall tops
- poor drainage around the base of the house
- rising damp in older walls
- failed sealant around windows and doors
Painting over damp plaster is one of the fastest ways to waste money on an exterior paint job. The wall needs to be dry and stable before any new coating is applied.
Step 3: Remove Loose and Failing Paint
Once the wall has been inspected and any moisture issues have been dealt with, the next step is to remove all loose, flaking and poorly adhered paint. This is essential because new paint can only bond well to a sound surface. If old paint is lifting away from the wall, any new coating applied over it is likely to lift too.
Loose paint is usually removed by scraping with suitable tools. Areas with bubbling, peeling or cracking should be stripped back until only firmly bonded paint remains. In some cases, sanding or wire brushing may also be needed to remove unstable edges and create a smoother transition between bare and painted sections.
This stage can be labour-intensive, but it makes a major difference to the final result. Skipping it often leads to visible ridges, uneven texture and early paint failure.
Step 4: Clean the Walls Thoroughly
Exterior walls in Melkbosstrand can collect more than just dust. Salt air, wind-blown grime, mildew, algae, traffic residue and general weathering all build up over time. If these contaminants remain on the wall, they can interfere with paint adhesion and shorten the life of the finish.
After scraping, the walls should be cleaned thoroughly. Depending on the condition of the surface, this may involve:
- washing with clean water
- brushing off dust and loose particles
- using an appropriate cleaning solution for dirt or mildew
- treating algae or mould with a fungicidal wash
- removing chalky residue from weathered paint
Pressure washing can be useful in some cases, but it must be done carefully. Excessive pressure can damage plaster, drive water into cracks or loosen unstable areas further. The goal is to clean the wall without causing unnecessary damage.
Step 5: Let the Walls Dry Properly
After washing or treating the surface, the walls must be allowed to dry fully. This step is often rushed, but it is critical. Painting over a wall that still holds moisture can trap dampness behind the new coating, which can lead to bubbling, blistering or peeling later.
Drying time depends on weather conditions, wall thickness, shade, previous damp problems and how much water was used during cleaning. In coastal areas like Melkbosstrand, walls can stay damp for longer than expected, especially shaded areas or sections exposed to winter moisture.
If the wall has recently had damp repairs, the drying period may need to be much longer than a normal wash-down. The surface should be dry not just to the touch, but dry enough for the primer and paint system being used.
Step 6: Repair Cracks, Holes and Damaged Plaster
Once the wall is clean and dry, repairs can begin. This stage is about restoring the wall to a stable, even surface before priming and painting.
Hairline cracks, wider plaster cracks, holes, chipped edges and damaged patches should all be repaired properly. The repair method depends on the size and type of defect. Some cracks may simply need filling, while others may need to be opened up, treated and repaired with a more flexible or reinforced system if movement is involved.
Damaged or hollow plaster may need to be cut out and re-plastered. Old failed patch repairs should also be removed if they are loose or unstable. The aim is to avoid painting over weak material that may fail soon after the job is finished.
This is also the stage to check details such as window reveals, parapet edges, wall tops and expansion cracks. These areas often become future failure points if not repaired carefully.
Step 7: Sand and Smooth the Surface Where Needed
After repairs have cured, the wall may need sanding to smooth patch edges, remove rough spots and help create a more even finish. Not every masonry wall needs heavy sanding, but repaired areas often benefit from it, especially if there are visible ridges between old and new material.
Sanding also helps feather out the edges where old paint was scraped back, reducing the chance of seeing harsh lines through the final topcoat. On previously glossy or sealed surfaces, light sanding can also improve adhesion.
The wall does not need to feel perfectly polished like interior plaster, but it should be stable, reasonably even and free of sharp transitions that could spoil the final appearance.
Step 8: Remove Dust Before Priming
After repairs and sanding, the surface should be dust-free before primer is applied. Dust left on the wall can interfere with adhesion and reduce the effectiveness of the primer. This is especially important in Melkbosstrand, where wind can quickly blow dust back onto surfaces during preparation.
Walls can be dusted off with a brush, cloth or air blower depending on the situation. The goal is to leave the surface clean, dry and ready for the next stage.
Step 9: Prime the Exterior Walls Correctly
Primer is one of the most important parts of exterior wall preparation, yet it is often misunderstood. A primer is not simply an extra coat of paint. It helps seal porous surfaces, improve adhesion, bind chalky areas, create a more even base and support the performance of the topcoats.
The right primer depends on the condition of the wall. For example, a wall with bare plaster patches may need a different treatment from a wall with chalky old paint or one with patch repairs across multiple areas. In some cases, a sealer or bonding primer may be needed rather than a standard undercoat.
Skipping primer or using the wrong one can lead to uneven absorption, patchy colour, poor adhesion and reduced durability. On coastal homes, where surfaces are under more environmental stress, this can shorten the life of the entire paint system.
Step 10: Caulk and Seal Gaps Around Openings
Before the final paint system is applied, it is worth checking for small gaps around windows, door frames, trim junctions and other transition points. These gaps can allow water in and may also spoil the finished look of the paintwork.
Appropriate exterior-grade sealant can be used where needed to close small joints and improve weather resistance. This is particularly important in Melkbosstrand, where wind-driven rain can exploit weak perimeter details around openings.
Sealant should only be applied to suitable joints and must be compatible with the paint system being used. Large structural cracks or movement joints require a different repair approach and should not be treated like simple cosmetic gaps.
Step 11: Protect Areas Not Being Painted
Before topcoats are applied, nearby surfaces should be protected. This includes windows, paving, plants, light fittings, roof tiles, hardware and outdoor furniture where relevant. Proper masking and covering keeps the job tidy and reduces cleanup time later.
Although this may seem like a small detail compared with wall repairs and priming, it is part of a professional preparation process. A good paint job is not only about what goes onto the wall, but also about how carefully the surrounding property is handled.
Step 12: Apply the Right Exterior Paint System
Once the walls are properly prepared, the actual painting can begin. At this stage, the quality of the preparation pays off. Clean, dry, repaired and primed walls provide a much better base for the final coats, helping them spread more evenly, adhere more strongly and last longer.
For Melkbosstrand homes, it is important to use a quality exterior masonry paint suited to coastal conditions. The number of coats, drying times and application method should follow the product specifications. Painting in poor weather, on overly hot walls or before repairs have fully dried can still undermine the result, even after good preparation.
Common Mistakes Homeowners Make When Preparing Exterior Walls
There are several preparation mistakes that often lead to premature paint failure:
- painting over damp walls
- leaving loose paint in place
- ignoring cracks or patching them poorly
- not cleaning off salt, dirt or chalky residue
- skipping primer on repaired areas
- using interior fillers or unsuitable products outside
- rushing drying time after washing or damp repairs
- painting over mould without treating it properly
Each of these shortcuts can shorten the life of the paint system. In a coastal suburb like Melkbosstrand, where exterior surfaces already work harder than usual, these mistakes become even more costly.
Should You DIY or Use a Professional Painter?
Some homeowners are comfortable doing small patching and repainting themselves, but full exterior wall preparation is often more demanding than it appears. It is not just about rolling on paint. It involves diagnosing paint failure, spotting moisture problems, choosing the right repair materials, preparing safely at height and knowing which primers and coatings suit the wall condition.
A professional painter can usually identify issues that a homeowner may miss, such as early water ingress, unstable plaster or the wrong previous coating. They also have the tools and experience to prepare larger surfaces efficiently and safely.
If the walls are badly weathered, the property is double-storey, damp is present or large repairs are needed, professional preparation is often the safer and more cost-effective route.
Conclusion
Preparing exterior walls for painting in Melkbosstrand is not a quick pre-paint chore. It is the most important stage of the entire project. In a coastal environment where salt, sun, moisture and wind all place pressure on exterior finishes, the success of the paint job depends heavily on the quality of the preparation underneath.
By inspecting walls properly, fixing moisture problems, removing failed paint, cleaning the surface, allowing it to dry, repairing cracks, priming correctly and sealing vulnerable details, homeowners give the new paint the best possible chance to last. The result is not only a neater finish, but a more durable one that protects the home better and reduces the risk of early failure.
For Melkbosstrand homes, proper wall preparation is not just good practice. It is essential. A well-prepared wall helps every litre of paint work harder, look better and last longer.
FAQs About Preparing Exterior Walls for Painting in Melkbosstrand
Why is wall preparation so important before exterior painting?
Because paint lasts only as well as the surface underneath it. If the wall is dirty, damp, chalky or damaged, the new paint may fail early.
Can I paint over peeling paint if I use a good product?
No. Loose or peeling paint should be removed first. New paint cannot bond properly to unstable old coatings.
Do I need to wash exterior walls before painting?
Yes. Exterior walls collect dust, salt, dirt, mildew and chalky residue, especially in coastal areas like Melkbosstrand.
How do I know if my wall is too damp to paint?
If the wall feels damp, shows bubbling, has mould or has recently been washed or repaired for moisture problems, it may not be ready yet. It should be dry before painting.
Should cracks be repaired before painting?
Yes. Cracks can allow water into the wall and can reappear through the new paint if they are not repaired correctly.
Do repaired patches need primer?
Usually yes. Primer helps seal repaired areas, improve adhesion and create a more even base for the topcoats.
Can I use any exterior paint on a Melkbosstrand home?
It is best to use a quality exterior paint suitable for coastal conditions, along with the correct primer and preparation system.
When should I call a professional painter?
If the walls have widespread peeling, damp problems, cracks, high access areas or significant preparation needs, professional help is usually worth it.